

Freesias are beloved for their delicate, tubular blooms and extraordinary fragrance that can perfume an entire room. With their elegant stems and rainbow of available colours, these South African natives make stunning cut flowers and add charm to borders and containers alike. If you’re wondering how to grow freesias in the UK, you’ll need to work with our challenging climate to achieve success. Our cool, damp conditions can be tricky for these corms, but with the right approach, you can enjoy spectacular, scented blooms year after year. Read on for five actionable tips to transform your freesia growing experience.
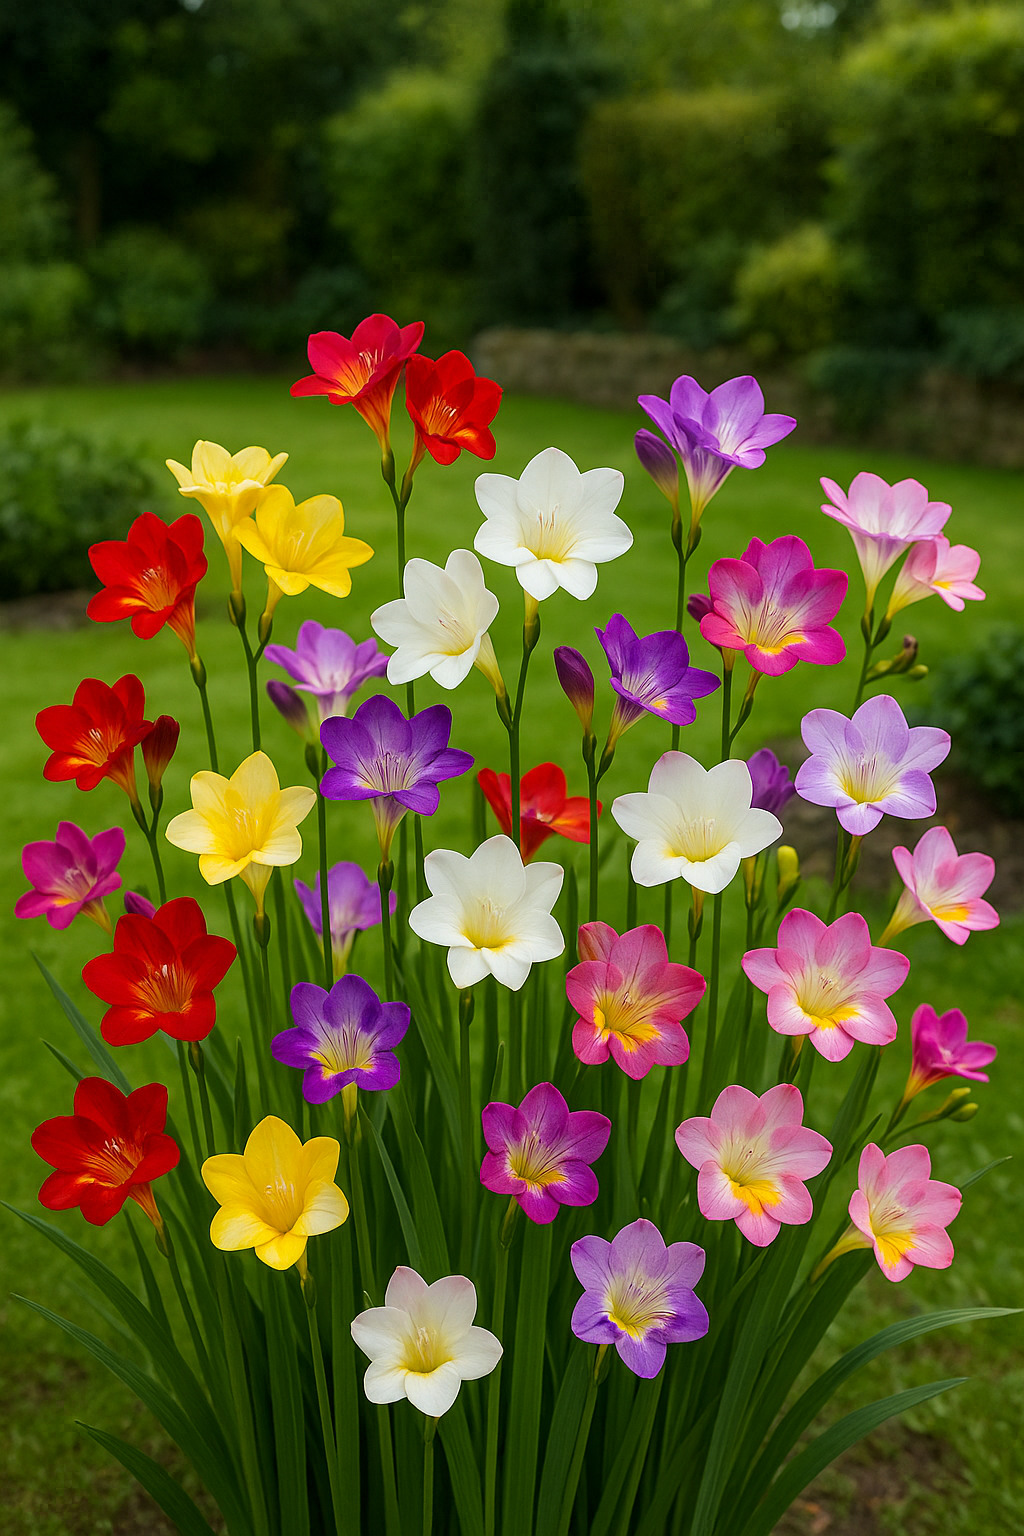
The foundation of successful freesia growing begins with selecting the right freesia corms. For reliable flowering in the UK climate, opt for heat-treated or ‘prepared’ freesia bulbs rather than standard ones. These prepared corms have undergone a special treatment process that tricks them into thinking they’ve already experienced a warm summer, making them more likely to flower in our cooler conditions.
According to the Royal Horticultural Society, prepared corms have significantly higher success rates in British gardens. When purchasing, look for plump, firm corms without signs of mold, damage, or shriveling. Larger corms (typically 5-7cm in circumference) generally produce more flower stems and create a more impressive display.
Quality suppliers will offer named varieties with detailed flowering information rather than mixed-color bargain bags. While they may cost more initially, the improved flowering performance and reliability make the investment worthwhile for gardeners serious about successful freesia growing.
If you’re growing freesias on a budget, you can attempt your own heat treatment process. Store unprepared corms in a warm, dry location at a consistent temperature between 25-30°C for 4-6 weeks before planting. An airing cupboard or warm shelf above a radiator can work well. Keep the corms in paper bags (never plastic) during this process to prevent moisture build-up while maintaining warmth. This DIY approach doesn’t guarantee the same results as professionally prepared corms but can improve flowering chances substantially.
Timing your freesia planting correctly according to the UK growing seasons is crucial for success. Freesia planting time UK gardeners should follow differs based on whether you’re growing indoors or outdoors.
For indoor growing, plant prepared corms between September and November for flowers from January to March, or plant between January and March for flowers from April to June. If you’re planting outdoors, wait until all danger of frost has passed in April-June, which will produce blooms in summer to early autumn.
Location is equally important. Freesias need a sunny position with at least 6 hours of direct light daily. In the UK’s southern counties, they may survive winter outdoors with a thick mulch in sheltered spots. However, in the Midlands and northwards, it’s safer to grow them in containers that can be moved indoors during colder months or to treat them as annuals.

To enjoy freesias over a longer period, consider staggered planting. Instead of planting all your corms at once, divide them into three batches and plant each batch three weeks apart. This simple technique creates a succession of blooms that can extend your freesia flowering season by up to two additional months. Just be sure to label each container or area with the planting date so you can track which planting strategy delivers the best results in your specific microclimate.
Freesias are particularly sensitive to poor drainage, making soil preparation a critical factor for success. These corms thrive in well-drained soil that mimics their native South African growing conditions. Heavy, waterlogged soil is the leading cause of failure when growing freesias in the UK.
For border growing, improve your garden soil by incorporating plenty of horticultural grit and compost. If your native soil is heavy clay, consider creating raised beds or mounds to enhance drainage. For container growing, blend three parts quality potting compost with one part perlite or grit to create the ideal growing medium.
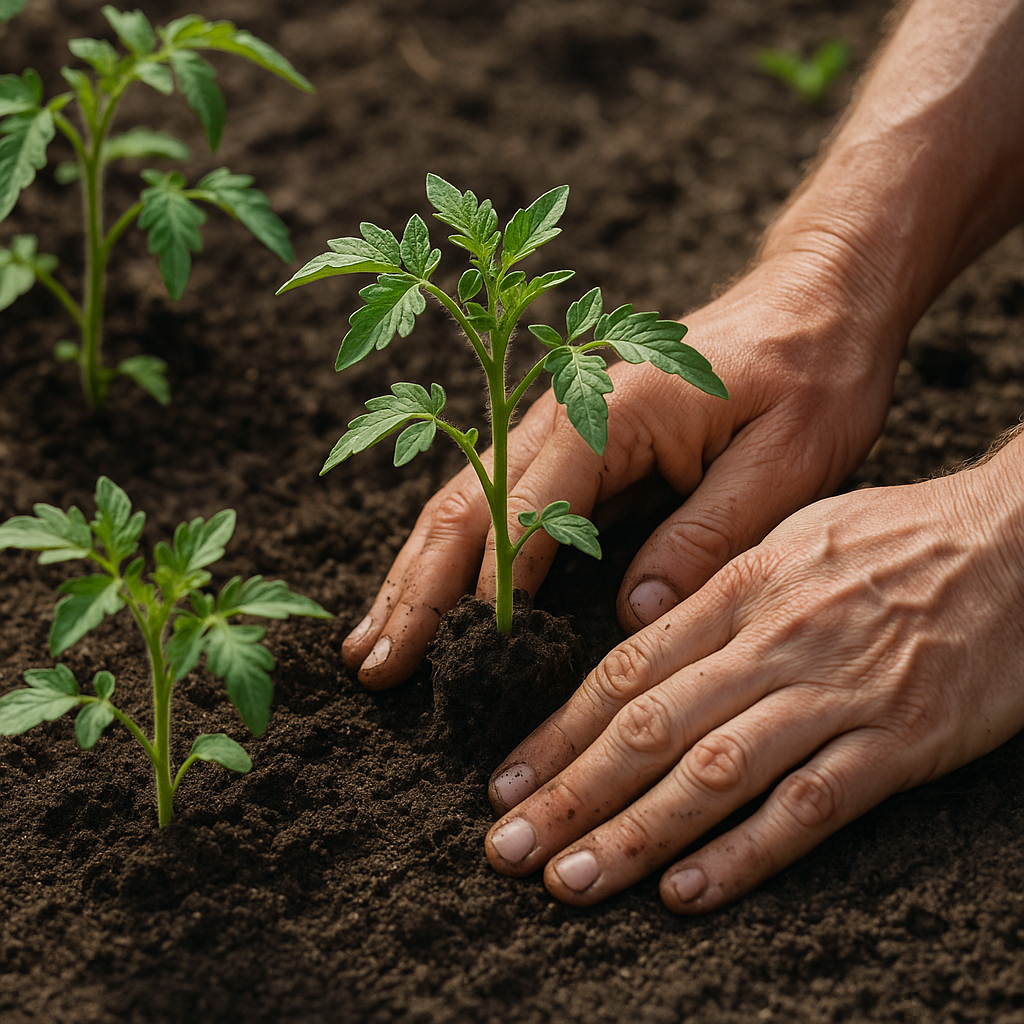
When planting, position the corms with the pointed end facing upward at a depth of 3-5 cm and space them approximately 5 cm apart. This spacing allows sufficient room for the development of offset corms while creating a full display. Cover with soil, water lightly, and then hold back on watering until shoots appear to prevent rot.
Both borders and containers offer viable options for growing freesias in the UK, each with distinct advantages. Border growing provides more natural conditions and requires less frequent watering once established. However, it offers less control over soil quality and drainage, and you’ll likely need to lift the corms before winter in most UK regions.
Container growing allows precise control over soil composition and drainage, and containers can be moved to optimize light exposure or provide protection during extreme weather. Choose containers at least 15 cm deep with ample drainage holes. Terracotta pots are ideal as they allow excess moisture to evaporate through their porous walls. For impressive displays, plant 5-7 corms in a 15 cm pot or 10-15 corms in a 25-30 cm container.
Consistent freesia care throughout the growing season is essential for healthy plants and abundant flowers. Once shoots appear, water regularly but moderately, keeping the soil lightly moist rather than soggy. Always allow the top inch of soil to dry slightly between waterings to avoid corm rot, which is a common problem in the UK’s damp climate.
Start feeding your freesias when flower buds begin to form. Apply a potash-rich liquid fertilizer (such as tomato feed or liquid seaweed) every 10-14 days during the growing season. This potassium boost encourages stronger flower stems and more vibrant blooms. Reduce the frequency to once monthly after flowering if you’re planning to save the corms.
As flower stems emerge, they’ll need support to prevent bending or breaking, especially in exposed gardens. Insert slender bamboo canes or decorative metal supports when plants reach about 15 cm tall. Alternatively, create a support grid using twine and small stakes around groups of plants, which offers a more natural-looking solution than individual stakes.

Overwintering freesias correctly is crucial for ensuring repeated flowering in subsequent years. In most parts of the UK, freesia corms should be lifted once the foliage has yellowed and died back naturally. Resist the temptation to cut back foliage while it’s still green, as this period is vital for the corms to store energy for next year’s growth.
When lifting, carefully dig around the plants to avoid damaging the corms and any offsets (baby corms) that may have formed. Gently brush away excess soil and allow the corms to dry in a warm, airy location for 1-2 weeks. Once dry, trim off any remaining foliage and roots before storing in paper bags or shallow trays filled with dry vermiculite or sand. Keep them in a cool (5-10°C), dry, frost-free place until it’s time to plant again.
Freesia propagation happens naturally through offsets that form alongside the parent corm. These small cormlets can be separated during the lifting process and grown on separately. Be aware that these young corms may take 1-2 years to reach flowering size. For the adventurous gardener, freesias can also be grown from seed, though this requires more patience as seed-grown plants typically take 2-3 years to flower.
If you’re gardening in the sheltered areas of southern England or Cornwall, you might successfully overwinter freesias in the ground with a thick mulch of straw or bark chips. However, this approach carries risks during particularly cold winters, and lifting remains the safest option for most UK gardeners.
By following these five essential tips for growing freesias in the UK, you’ll maximize your chances of producing healthy plants with abundant, fragrant blooms. The key to success lies in understanding how to adapt these South African natives to our British climate through careful corm selection, appropriate planting techniques, consistent care, and proper overwintering methods.
Whether you’re growing freesias for their intoxicating scent, as stunning cut flowers, or to add elegance to your garden borders, these techniques will help you achieve spectacular results. Start with quality corms, provide the right growing conditions, and you’ll soon be enjoying these exquisite flowers in your own garden, regardless of our challenging UK weather.
Indoors in September–November or January–March; outdoors April–June after frost risk.
Pointy end up, 3–5 cm deep and spaced 5 cm apart.
Lift after foliage dies back; dry 1–2 weeks; store in a paper bag in a cool (5–10°C), dry, frost-free place.
A potash-rich liquid feed (e.g. seaweed or tomato feed) every 10–14 days once shoots appear.
Use canes or twiggy sticks to stake stems individually or form a support triangle as they grow.